Silver Walnut Christmas Tree Centrepiece
by Val
(Norwich, UK)
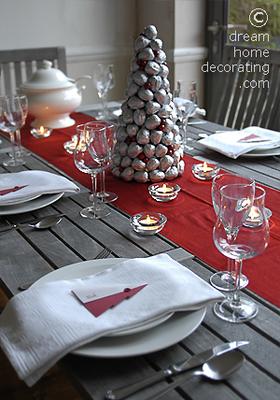
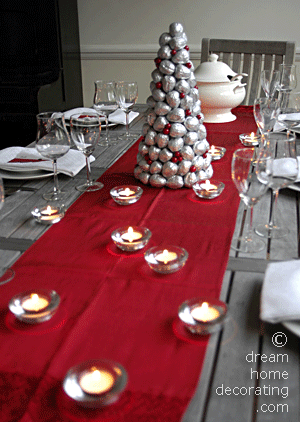
Pride of place: the walnut tree centrepiece
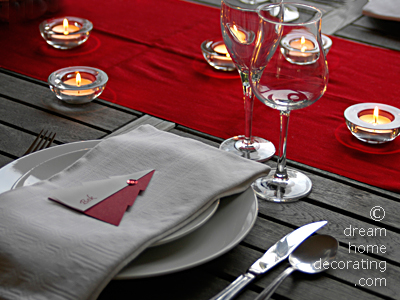
This is a Christmas table setting I made as a present for my best friend. I liked it so much that I *had* to photograph it before taking it over to her house.
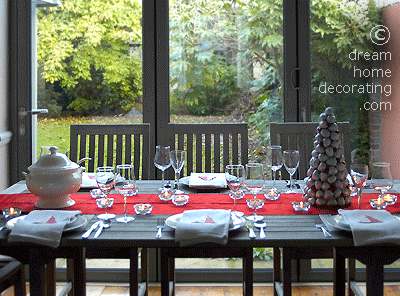
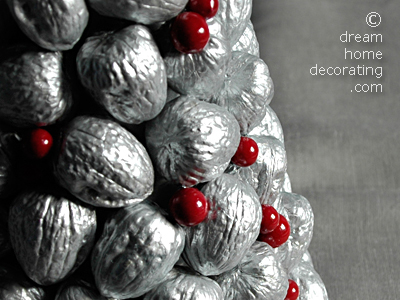
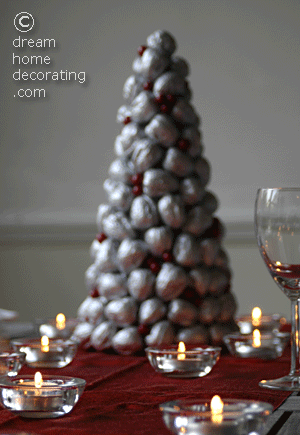
So ... the protagonist is a DIY tabletop Christmas tree made of walnuts and artificial berries that are glued around a cardboard cone. It is not difficult at all and looks rather good (if I do say so myself). It's also very versatile as a centrepiece because it has a small footprint and can easily be shuffled around as and when space is needed on the table.
To make it, you will need:
- A2 sized card stock (16.54" x 23.39" or similar). Paper weight should be upwards of 135gsm (50lb), but it still needs to bend easily.
- stapler;
- glue gun and glue sticks;
- tape to cover the seam when you make the cone;
- silver wall paint of your choice (I used about 150ml =1 ½ sample tubs of Craig & Rose 'Opulence' metallic wall paint, the hue was called 'Silver Lustre');
- soft flat brushes;
- walnuts (if memory serves, I used over a kilo for a cone that was 15in high and about 8in diameter at the bottom);
- artificial red berries (I bought some branches very cheaply and snipped the berries off with a wire cutter).
Instructions:
1.. Cut a quarter circle (approximately) out of the card. Roll the paper into a cone shape (it cannot be any higher than the short side of your paper). Then hot-glue the sides together. I always staple it first at the bottom to keep control of the shape while I glue the seam. If necessary, tape the seam down after gluing.
2. Paint the cone with the same paint that you use for the walnuts. If the cone goes wonky (mine started to look oval instead of round), secure a round footprint by gluing a perfectly round piece of card into the bottom.
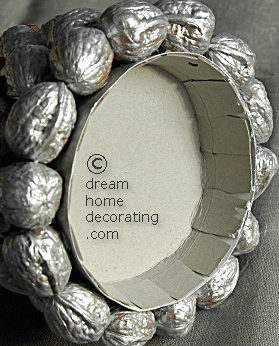
3. Paint the walnuts and set to dry on a plastic surface (paper will stick to the fresh paint).
4. Once the cone and walnuts are dry, heat the glue gun again and ‘build’ the tree from the bottom up. Try to distribute the smaller holes (where no walnut fits) around the entire cone, because that is where the berries go at the end.
5. When the cone is full and the glue is dry, give the entire ‘tree’ another lick of paint for a nice smooth seamless coat. Let dry thoroughly.
6. At the very end, glue berries into the holes that were too small for walnuts.
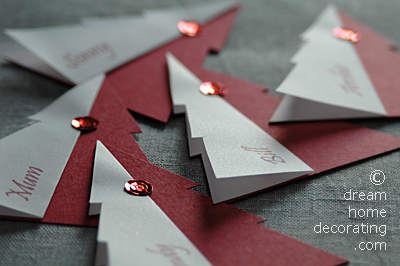
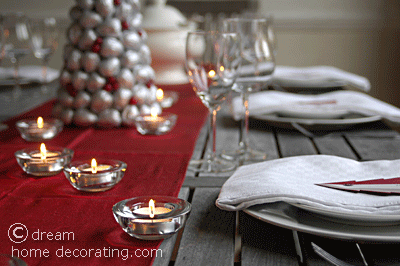
The place cards I made were basically tree shapes, one cut from coloured card and one from tracing paper. The tracing paper was folded down the centre and glued onto the coloured card shape with a teeny speck of glue.
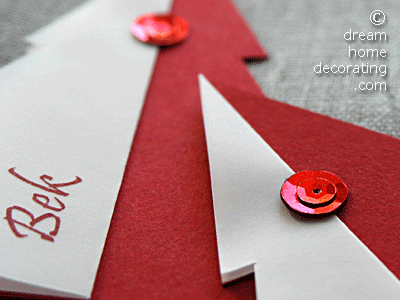
To hide the glue, I set two sequins into one another, right on top of the gluing point, and glued those down as well. It looks rather artistic but it's just two cheap sequins, LOL!
I pre-printed the tracing paper with the names, but you could just as well hand-letter them at the end.
Needless to say, my friend was rather chuffed about her pressie :-)
CONGRATULATIONS To Val - this entry won the Grand Prize in our Christmas Table Settings Contest 2012!
Comments for Silver Walnut Christmas Tree Centrepiece
|
||
|
||
|
||
