Making Paper Lanterns:
Pretty & Inexpensive Paper Lantern Craft
Making paper lanterns out of doilies & plastic cups: Learn how to make paper lanterns for festive tables and mantelpieces! (Use paper lantern crafts like these only with electric tea lights!)
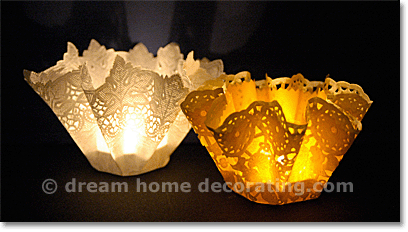
Making Paper Lanterns:
Basic Materials & Tools
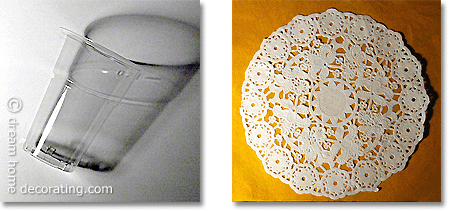
You will need:
- clear 6-7oz (0.2l) disposable plastic cups
- a sturdy pair of scissors
- 7-8in round white paper doilies
- clear-drying craft glue (e.g. PVA)
- battery powered tea lights (LEDs)
If you want to make paper lanterns from doilies that are mostly lacework (rather than plain paper disks with lace borders) you'll need a few additional things:
- tissue paper
- pinking shears
- 'dry' adhesive roller
How To Make Paper Lanterns:
Step By Step
A) How To Make A Lantern Without Tissue Paper
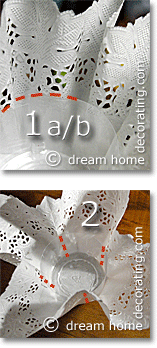
1a) Measure & cut the plastic cup.
The red line shows how to cut the cup down to the line where the 'lace border' starts. This ensures that the rim of the cup can not be seen through the cutwork.
1b) Glue the bottom of the cup right into the center of
the doily. Wait a little until the glue has set.
2) 'Quarter' the doily.
Apply four opposing lines of glue to the outside of the cup, from the bottom to the rim (the red broken lines show where the glue should go).
Push the doily up against these glue lines; press & hold in place while the rest of the paper sticks out from the cup in four cone shapes.
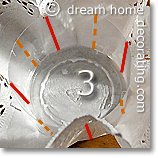
3) 'Double' the cones.
Apply four new lines of glue in-between the existing ones (along the orange broken lines).
Pull the outside of each cone in & up towards the cup, and hold it there until the glue has set.
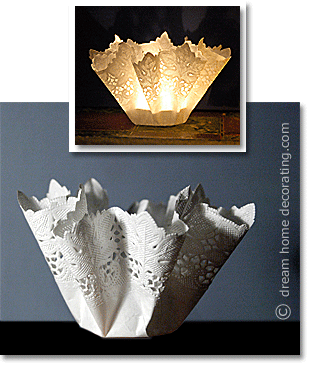
I prefer craft glue to roll-on adhesive for this, because if you accidentally skew the paper when folding it up, you can still correct that.
With roll-on adhesive, you only have one go ... much easier to mess up!
(Below, you'll find additional step-by-step photos of how to make paper lanterns in this way!)
VARIATION
Make larger paper lanterns by using bigger doilies and/or cups.
B) Making Paper Lanterns With A Layer Of Tissue Inside

1) Cut the tissue to size
With your pinking shears, cut a disk slightly smaller than the doily out of the tissue paper.
The reason for using pinking shears is because a straight, neat tissue paper border would visually interfere with the busy, raggedy cutwork pattern of the doily. You would always notice it.
2) Glue the tissue onto the doily
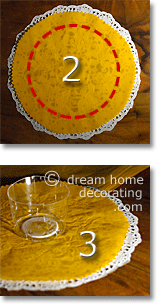
The doily/tissue layer should stand at least an inch above the rim, to hide the plastic cup inside.
Therefore you only need to glue the tissue & doily together as far as the rim of the (shortened) plastic cup - roughly to the red line.
Dot the adhesive onto all strategic points of the doily. Press the tissue paper down onto the doily to make sure the two are securely glued together.
3) Glue the cup down ...
... and have a cuppa while the glue dries ;-)
4) 'Quarter' the doily:
Take four opposing doily corners, fold them up to the wall of the cup, and glue them into place as described above.

5) Double the cones:
Press each cone up & in, and glue it securely to the wall of the cup.
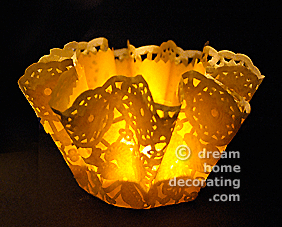
That's it, you're done!
Making paper lanterns in this way is great if you want to add subtle color to your light & decorations.
If you're making paper lanterns just with white doilies, add interest to your display by using a variety of doily designs and sizes!
More Paper Lantern Crafts: Click A Pic!
Yet to find the information you're looking for? Type a word or phrase into the search box below:

